
It is certainly possible to work with the Elk development kit board directly using the standard tools available through the terminal, e.g. SSH to connect, and SCP to transfer files to and from the board. There are however several applications available which you could use to significantly streamline the process.
We present suggestions on how to efficiently edit files on the board using desktop GUI applications, and to remotely manage the Elk board’s filesystem.
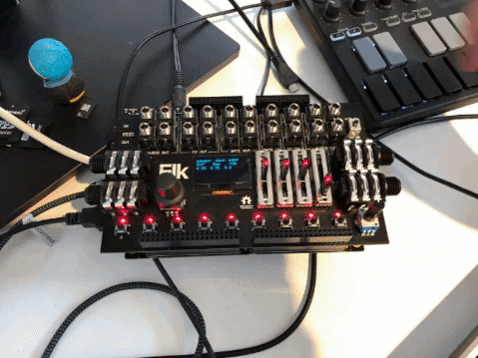
Do note that while we for simplicity specifically refer to our Elk Pi board, the advice applies also to our boards for other platforms.
We detail using Visual Studio Code, and Eclipse, as they are available on all main desktop platforms: Linux, Windows, and OS X.
But of course many platform-specific IDE’s also provide similar functionality, not the least Microsoft’s Visual Studio 2019.
The Microsoft Visual Studio Code (VS Code) IDE is available across Linux, Windows and OS X platforms. It has support for all the programming languages, formats and tools that we currently use with Elk, and our examples: C++, Python, CMake, Git, json, and Bash shell-scripts.
VS Code is lightweight as a core application, but can be expanded using a wide variety of very-well integrated extensions.
Using the “Remote – SSH” extension, VS Code significantly streamlines transferring files to the Raspberry Pi, editing them in-place, and even executing the software on the device.
Start by connecting to your Elk Pi over SSH using the terminal (see your getting started guide if not). Next you can follow the instructions in the official Remote – SSH guide, to connect To the Elk Ri using VS Code. Just skip the sections about setting up a virtual machine, since you will be connecting to your Elk Pi’s Linux.
The default SSH connection location upon first connection is /home/mind. With the “File->Open Folder” command, you can choose to connect to any other folder (e.g. /tmp, or /udata), or the filesystem root for that matter.
While connecting to the filesystem root is handy, you have to make a few settings to enable watching for file changes on a large workspace – see here for those settings, if you are running VS Code on Linux Desktop.
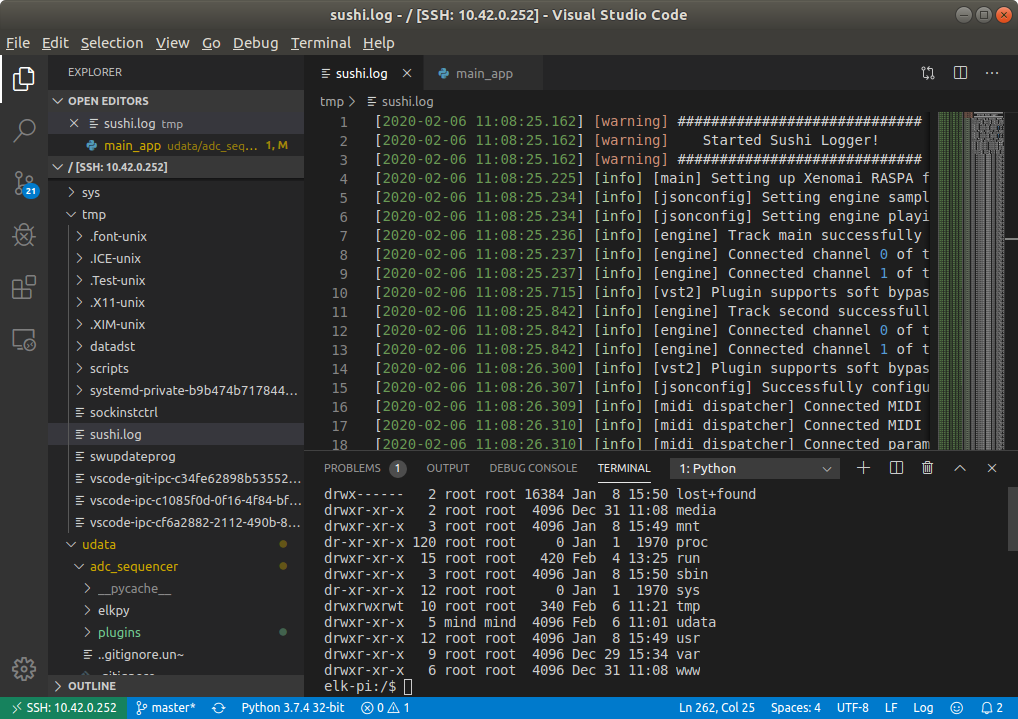
With that in place though, you can for example have the /tmp/sushi.log file permanently open, and only a mouse-click away from seeing the latest changes after the most recent Sushi execution (see Figure 1 above).
Moreover, there is an integrated terminal window local to the Elk Pi, which you may find convenient to use, instead of maintaining an SSH connection in a separate terminal window.
Extremely conveniently, you can transfer files and folders between your Desktop computer and the Elk Pi, simply by dragging and dropping to and from the file tree to the left!
Already with this, creating .json configuration files for Sushi and Sensei, and editing Bash scripts to start and stop your processes, becomes nearly as straightforward as if you were working locally on the desktop.
The Eclipse IDE will likely be familiar to very many of you. Its set of features is very extensive, and it can be further be greatly extended with plugins, so it is no surprise that it too provides the ability of working on a remote device.
How you Install Eclipse varies depending on your platform. For Linux, if you want to install the latest version, the Ubuntu Software Center will not be of help. The version it hosts is a year behind at the time of writing. But the steps needed for installing the latest release are well documented elsewhere, for example on itsfoss.com.
The default installation of Eclipse does not come with the plugin needed, the “Remote System Explorer” (RSE). To install it, launch Eclipse, and follow the below menu command sequence:
A tree will appear, where you can explore the Elk Pi’s filesystem, directly edit files, and using which you can directly transfer files using drag and drop.
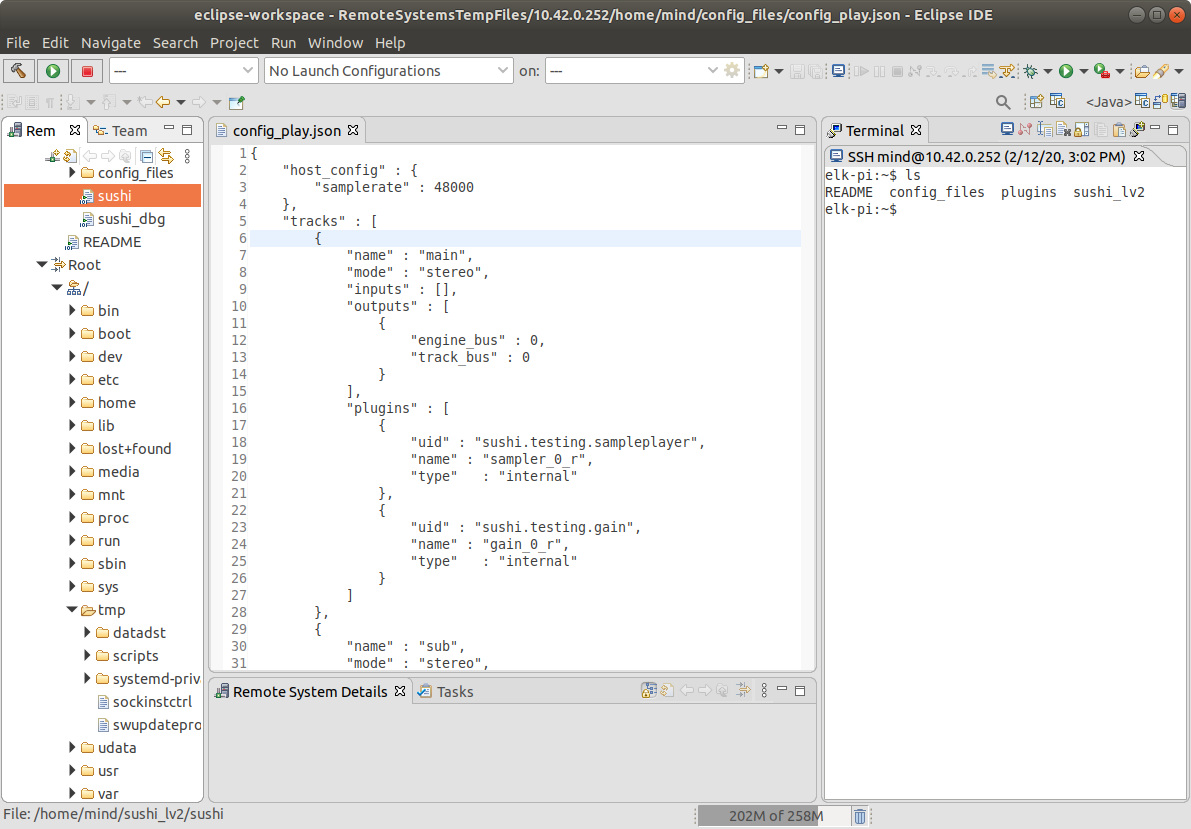
Finally you can also launch an SSH terminal directly within Eclipse. Just press ctrl-shift-alt-T, choose terminal: SSH Terminal. Host: the IP of your Elk Pi. User: mind, PW: elk.
If you work with an IDE that unlike VS Code and Eclipse, does not connect directly, you can use SSHFS to mount the Elk Pi’s filesystem to yours, allowing you to thus treat all files and folders on the Elk Pi as local ones.
You need to install SSHFS on your platform ($ sudo apt-get install sshfs on Linux). Given that, it is as simple as creating a folder for the purpose on your computer:
$ mkdir ~/elk_pi_fs
And then typing:
$ sshfs mind@<ELK PI IP>:/ ~/elk_pi_fs
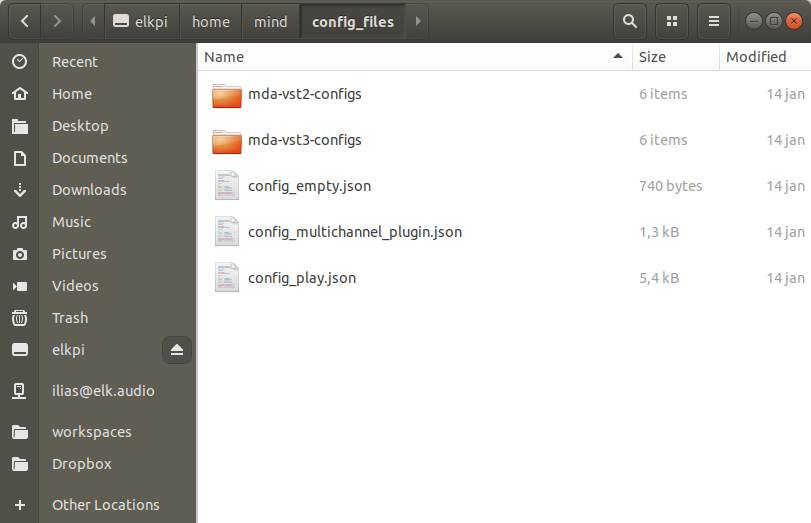
Given that, you can navigate to that folder through your operating systems file manager, and work as if the files were local – e.g. Figure 3, with the Elk Pi’s filesystem navigable through Ubuntu’s Nautilus.
The above command mounts the Elk Pi filesystem temporarily, but you can also mount it permanently – see here for further instructions on working with SSHFS on Ubuntu.
When you are getting started, the first thing you want to ensure is that you get audio in and out of the device, and that the MIDI messages you send are indeed received.
While in the vast majority of cases, the steps in our getting started guide will work straight out of the box, sometimes you may not have a USB MIDI device available, or your MIDI may not work correctly.
In the former case, to ensure that audio is at least working, you can run an example configuration which does not depend on MIDI input. The one below instead produces notes for the synth to play, using Sushi’s built-in arpeggiator plugin:
$sushi -r -c ~/config_files/mda-vst2-configs/config_play_arp_mda_synth.json
In the latter case, to debug MIDI messages you can do the following:
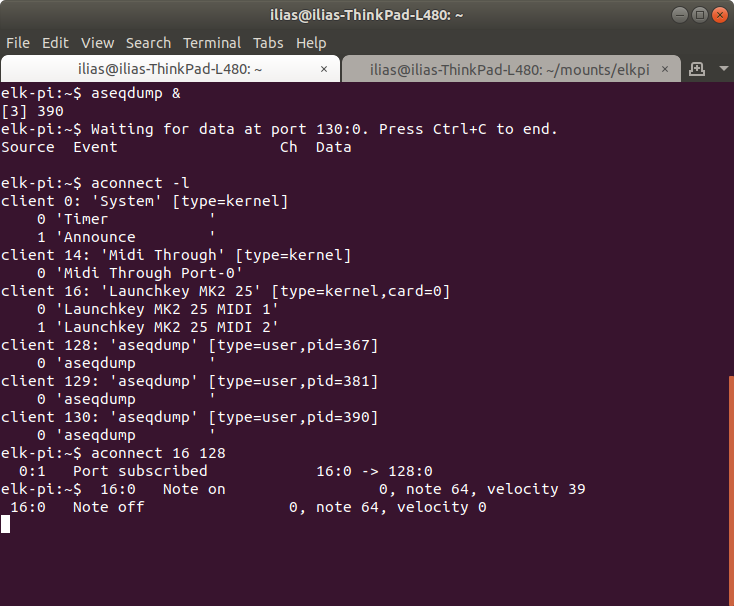
Launch $ aseqdump &, and connect your MIDI device to it with aconnect. You should see incoming MIDI messages printed to the terminal, see Figure 4.
You can as a next step launch Sushi with the --log-level=debug flag. This will turn on MIDI logging among the other things. If MIDI messages are received properly, you should see lines like this in Sushi’s log file (/tmp/sushi.log on your Elk Pi):
[2019-12-14 15:39:56.501] [debug] [alsamidi] Received midi message: [e0 0 3e 0] timestamp: 358983144
Finally, a simple, very useful tip directed to users unfamiliar with Linux.
When your setup grows in complexity, you no longer need to launch only Sushi with a configuration file, but also Sensei, your own Python Glue program, and aconnect, for each execution. And when done, of course terminate all these.
Repeatedly entering all the commands gets tedious, but you can simply create two Bash scripts for starting and stopping – see the two examples below:
$ ./run_instrument:
#!/bin/bash
# Start Instrument
sushi -r -c ~/instrument/elk_sushi_conf.json &
sensei -f ~/instrument/elk_sensei_conf.json &
~/instrument/elk_instrument_glue_app &
# waiting for everything to have initialized before connecting
sleep 3
aconnect 16 128
$ ./stop_instrument:
#!/bin/bash
# Stop Instrument
pkill ~/instrument/elk_instrument_glue_app
pkill sensei
pkill sushi
Already, the above make working with the Elk Pi much easier, and for now we will pause here on the topic. However, stay in tune for our future post on further tips: for example, on remote debugging of your Python and C++ code.
Thank you for reading!
For any questions on Elk, or anything else, please visit our forum, or write to us at tech@elk.audio.
(Many thanks for the input of Elk Pi user Rick Cohen of Qubiq audio, for sharing his notes with us on working with Eclipse)

